
Learning how to use Windows Audio Troubleshooter for headphone problems is often the fastest way to bring back silent, crackling, or undetected headphones without digging through menus. The built-in tool scans the audio service, drivers, and device settings, then applies fixes automatically. Here is how to run it properly.
Quick Summary
- Time needed: about 2 to 5 minutes
- Works with: wired headphones, USB headsets, and Bluetooth earbuds
- Fastest route: right-click the speaker icon and choose Troubleshoot sound problems
- Best results: connect the headphones before starting the scan
- Headset mic issues: run the separate Recording Audio troubleshooter
Method 1: Run the Troubleshooter From the Taskbar
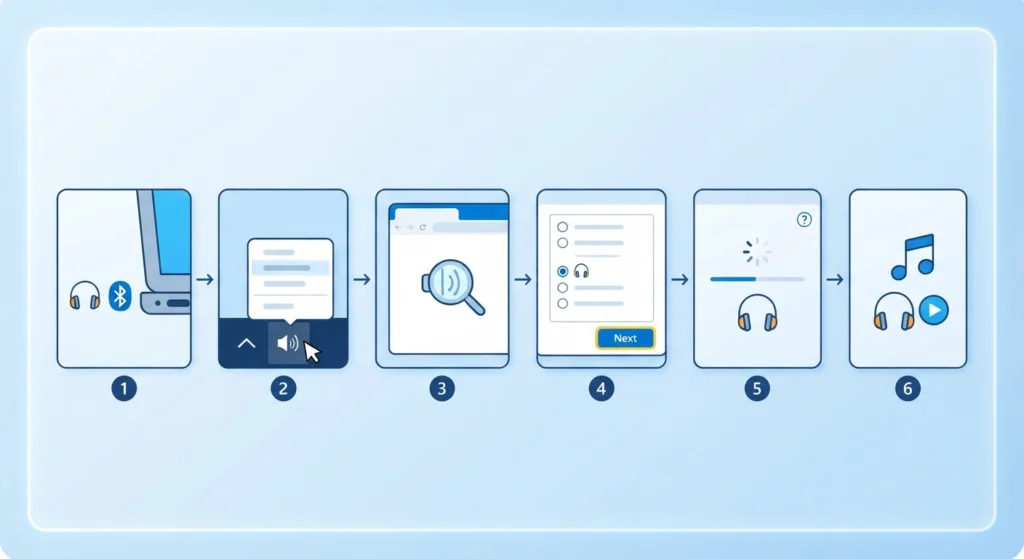
This is the quickest route and works on both Windows 10 and Windows 11.
- Step 1: Plug in the headphones or make sure the Bluetooth earbuds are connected.
- Step 2: Right-click the speaker icon in the bottom-right corner of the taskbar.
- Step 3: Select Troubleshoot sound problems.
- Step 4: When Windows asks which device to check, pick the headphones from the list and click Next.
- Step 5: Wait while the scan runs. If a fix is suggested, click Apply this fix.
- Step 6: Play a song or video to confirm the sound is back.
Pro-Tip: Connect the headphones before the scan begins. The troubleshooter can only test devices it can see, and a headset that is unplugged or disconnected usually will not appear in the list at all.
Method 2: Run the Troubleshooter From Windows 11 Settings
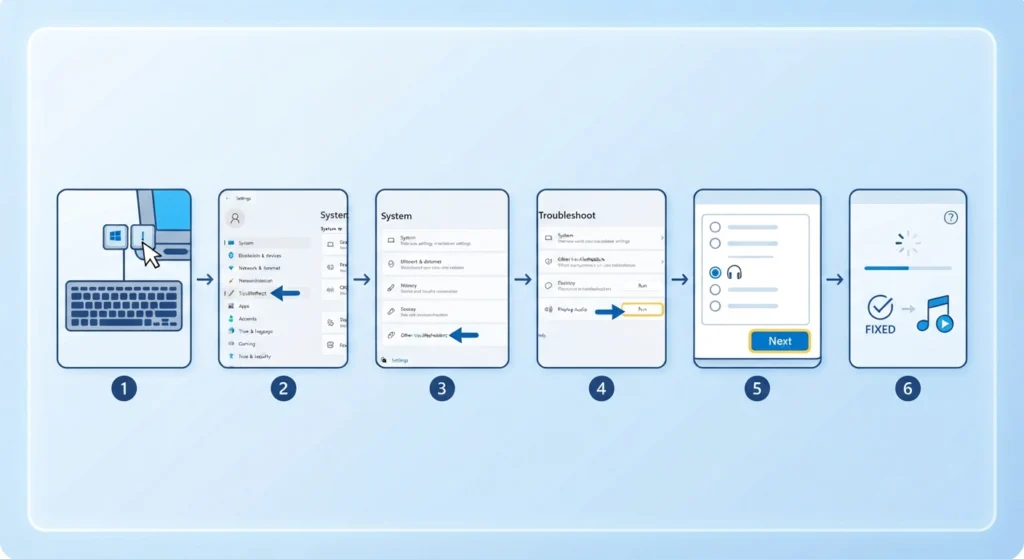
This route is useful when the taskbar icon is missing or unresponsive.
- Step 1: Press the Windows key and I together to open Settings.
- Step 2: Click System, then select Troubleshoot.
- Step 3: Click Other troubleshooters.
- Step 4: Find Playing Audio and click Run.
- Step 5: Choose the headphones when prompted and click Next.
- Step 6: Follow the on-screen instructions and accept any recommended fix.
On some Windows 11 builds, the Run button opens the Get Help app to guide the scan. The process is the same: answer the prompts and let the tool apply its suggestions.
Method 3: Run the Troubleshooter on Windows 10
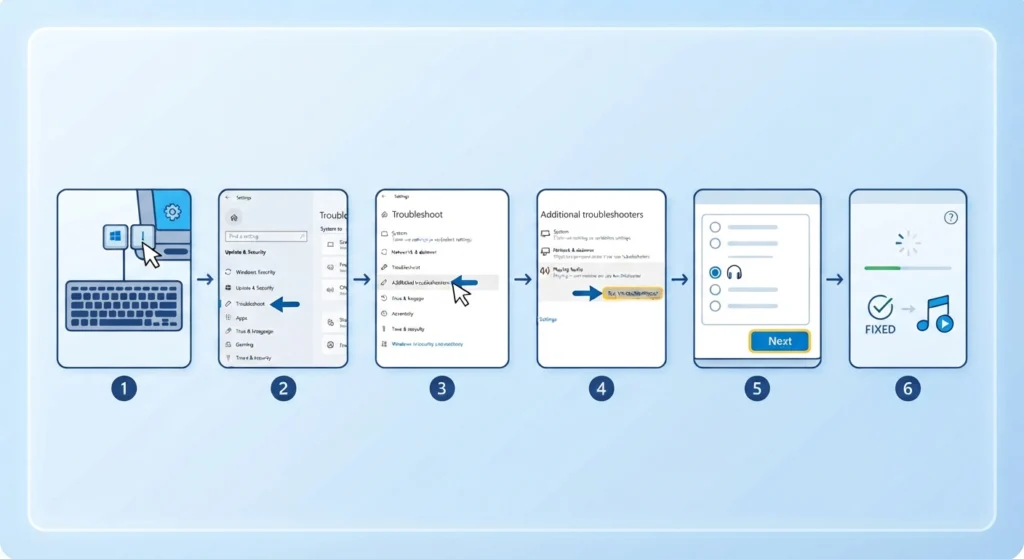
- Step 1: Press the Windows key and I to open Settings.
- Step 2: Click Update and Security, then choose Troubleshoot.
- Step 3: Select Additional troubleshooters.
- Step 4: Click Playing Audio, then click Run the troubleshooter.
- Step 5: Select the headphones and click Next.
- Step 6: Apply the suggested fix and restart the app that was playing audio.
Method 4: Use the Recording Audio Troubleshooter for Headset Microphones
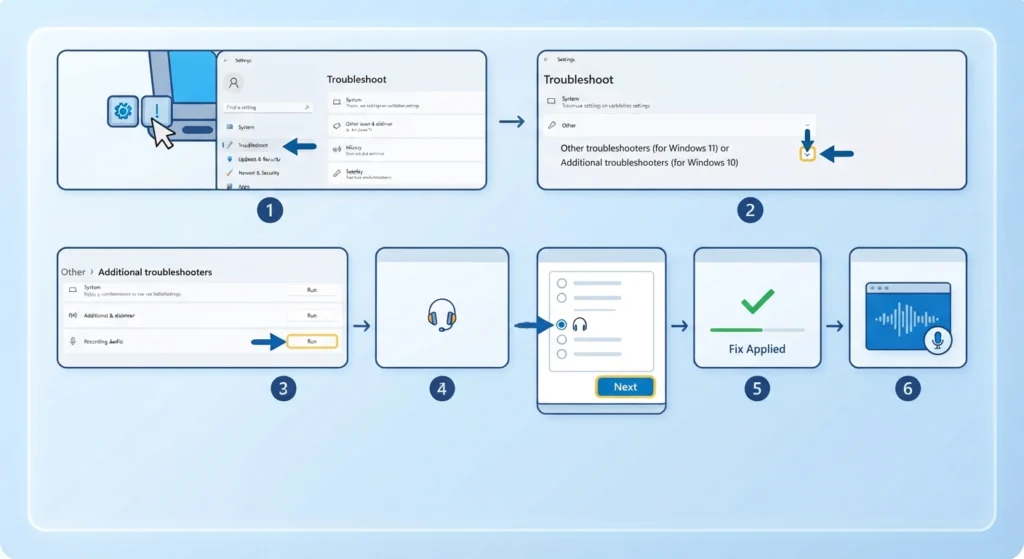
The Playing Audio tool only checks sound output. When the microphone on a headset is the problem, the Recording Audio troubleshooter is the right one to run.
- Step 1: Open Settings and go to the Troubleshoot page for the version of Windows in use.
- Step 2: Open Other troubleshooters on Windows 11, or Additional troubleshooters on Windows 10.
- Step 3: Click Run next to Recording Audio.
- Step 4: Select the headset microphone and click Next.
- Step 5: Apply any fix that appears, then test the mic in a call or voice recorder.
For a deeper look at mic detection, this guide on resolving microphone detection problems covers the next steps.
What to Expect When the Scan Finishes
The troubleshooter ends with a short report. Most people see one of three results: a fix was applied, a problem was found but needs manual attention, or nothing was detected. The report lists each item that was checked, so it is worth reading before closing the window.
Pro-Tip: If the troubleshooter reports that a device is disabled, accept the offer to enable it. A disabled output device is one of the most common reasons headphones stay silent after a Windows update.
Tips for Better Results
- Close music players and video apps before running the scan so they do not hold the audio device.
- Run the troubleshooter as soon as the problem starts, since it works best on a fresh issue.
- Test with a different app after the fix, because one program may use its own audio settings.
- Check the volume mixer afterward to make sure the app volume is not muted.
- Restart the computer if the troubleshooter applies a driver or service fix and the sound still does not return.
To pick the right output after the scan, adjusting audio output settings shows how to set the headphones as the default device.
Common Problems When Using the Troubleshooter
Fix 1: The Headphones Are Not Listed
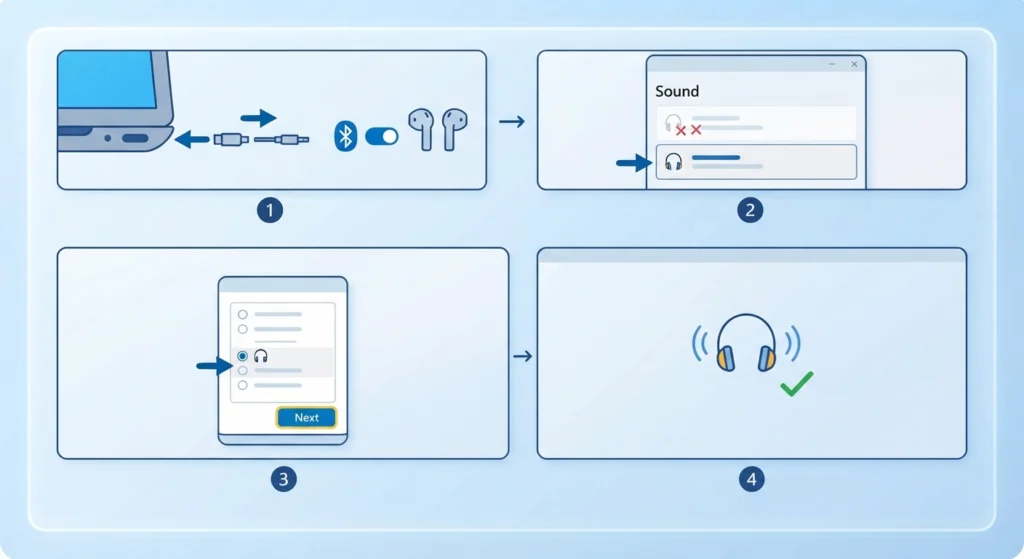
The device is usually not connected or not set as available. Unplug and reconnect wired headphones, or reconnect Bluetooth earbuds, then run the troubleshooter again. For wireless models that keep dropping out, re-pairing Bluetooth earbuds for stereo sound is the cleaner route.
Fix 2: The Scan Finds No Problem but Sound Is Still Missing
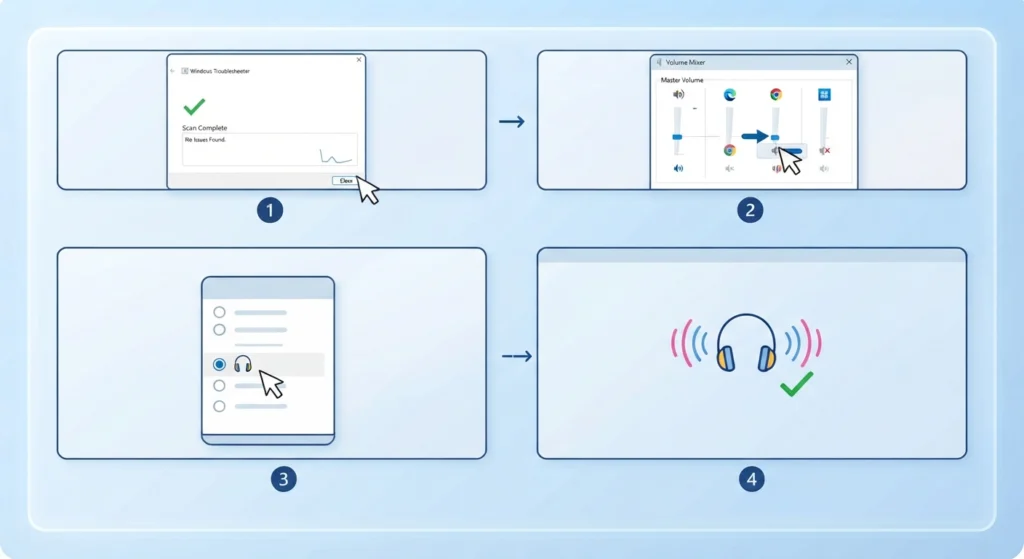
This often means the audio itself is working and the issue sits in an app setting or the default device selection. Open the volume mixer and confirm the app is not muted, then verify the headphones are chosen as the output device.
Fix 3: The Fix Is Applied but the Problem Returns
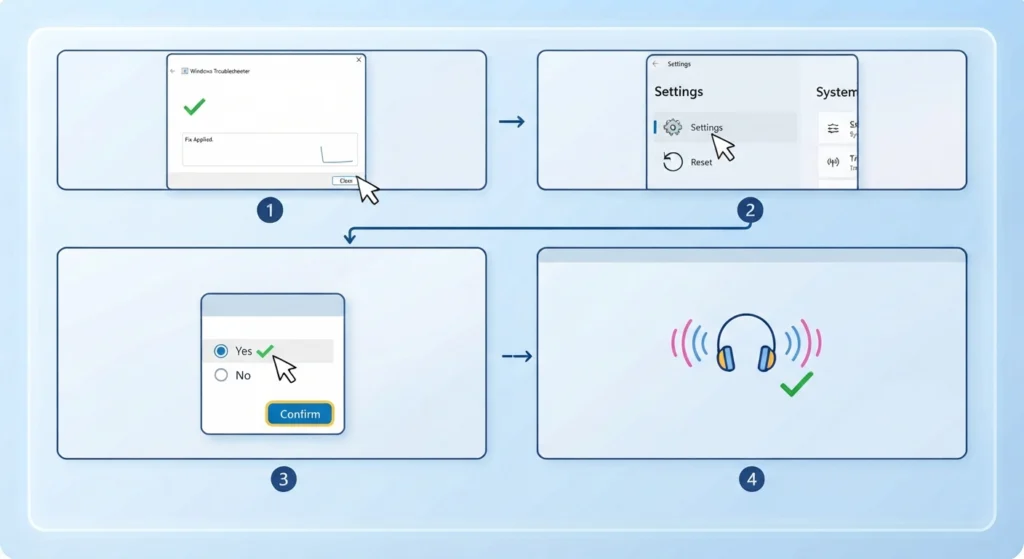
A returning problem can point to settings that keep changing. Resetting the sound configuration often clears this, and resetting audio settings explains the process.
Fix 4: The Troubleshooter Will Not Open
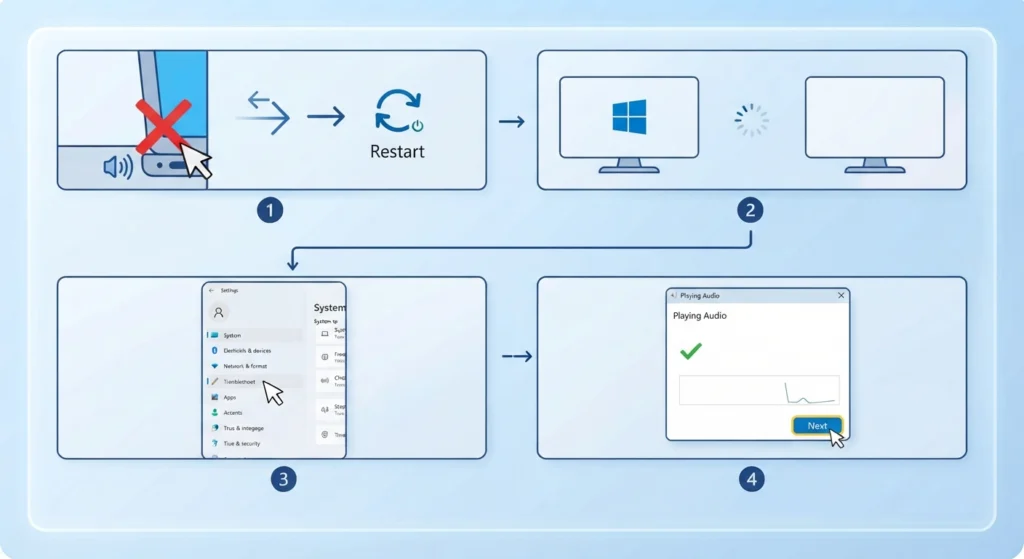
Restart the computer and try the Settings route instead of the taskbar icon. Using a different method of opening the tool usually gets around a stuck shortcut.
Frequently Asked Questions
What does the Windows Audio Troubleshooter do for headphones?
It checks the audio service, the selected output device, drivers, and basic sound settings, then applies fixes it can handle automatically.
Is the Windows Audio Troubleshooter safe to use?
Yes. It is a built-in Microsoft tool, and it asks for confirmation before applying a change.
Does the troubleshooter work with Bluetooth headphones?
Yes, as long as the Bluetooth headphones are connected and appear as an output device. The tool checks them the same way as wired ones.
Why are headphones not showing in the troubleshooter?
The device is probably disconnected, disabled, or not recognized yet. Reconnect the headphones and run the scan again.
Can the troubleshooter fix a headphone microphone?
The Playing Audio tool covers sound output only. The Recording Audio troubleshooter is the one designed for microphone problems.
How long does the audio troubleshooter take?
Most scans finish within a couple of minutes, depending on the number of audio devices connected.
Is a restart needed after running the troubleshooter?
A restart is not always required. It helps when the troubleshooter changes a driver or service and the sound does not return right away.
Where is the audio troubleshooter in Windows 11?
Open Settings, go to System, click Troubleshoot, then Other troubleshooters, and select Run next to Playing Audio. The taskbar speaker icon also offers a shortcut.
Will the troubleshooter delete any files or change installed apps?
No. It only adjusts audio related settings and services, and it does not remove personal files or installed programs.
Can the troubleshooter be run more than once?
Yes. Running it again after a restart or a reconnect is fine and sometimes catches an issue the first scan missed.