
Headphones that sound too bright or harsh can turn any listening session into an exhausting experience. That sharp, piercing treble and fatiguing high-frequency edge is one of the most common complaints among headphone users – whether the headphones are brand new or have been in use for years. The good news is that fixing this is entirely possible without buying a new pair. This guide covers exactly how to do it, step by step.
Key Takeaways
- Equalizer (EQ) adjustments are the fastest and most effective fix for bright or harsh headphone sound.
- Reducing frequencies between 2kHz – 8kHz typically eliminates harshness and listening fatigue.
- Software-based fixes work on Windows, Mac, and mobile devices without any extra hardware.
- Ear pad material and headphone fit can physically affect brightness and are worth checking.
- Driver and audio settings on Windows 11 can sometimes cause unexpected harshness – those are fixable too.
- Most cases of overly bright headphone sound are solved within minutes using the methods below.
How to Fix Headphones That Sound Too Bright or Harsh
Fix 1: Use an Equalizer to Reduce Harsh Frequencies
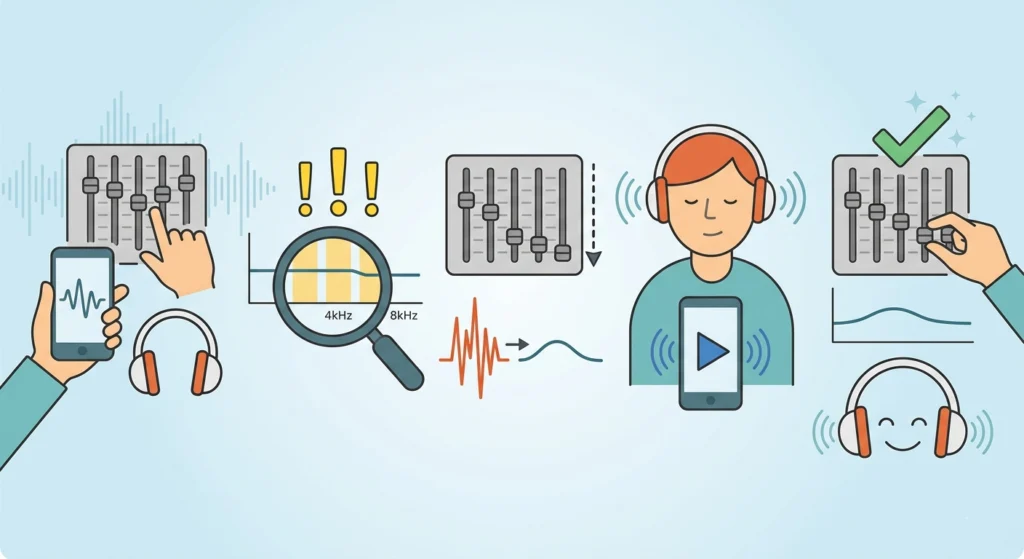
This is the most direct and effective solution. Bright or harsh headphone sound almost always comes from an excess of upper-midrange and lower-treble frequencies, typically in the 2kHz to 8kHz range. An equalizer lets you pull those frequencies down precisely.
- Step 1: Open an equalizer app. On Windows, use software like Equalizer APO with the Peace GUI, or use the built-in EQ in any music player app such as Spotify, VLC, or foobar2000. On mobile, apps like Wavelet (Android) or Apple Music’s EQ (iOS) work well.
- Step 2: Locate the frequency bands around 2kHz, 4kHz, and 8kHz. These three bands are where headphone harshness most often lives.
- Step 3: Lower those bands gradually – start by pulling them down by -2dB to -4dB. Do not go too far at first.
- Step 4: Play a track that clearly sounds too bright on the headphones and listen to how the reduction changes the tone.
- Step 5: Fine-tune each band until the harshness disappears while the overall clarity remains intact.
This works best when using a parametric EQ because it lets you target specific frequencies with precision. A graphic EQ works too, but it gives less surgical control.
Pro-Tip: The 6kHz region is often called the ‘presence peak’ and is the most common culprit for sibilance and harshness. If everything else sounds fine but vocals and cymbals pierce, drop that single band first before touching anything else.
Fix 2: Adjust Audio Output Settings in Windows 11

Windows 11 has built-in audio enhancements that can sometimes make headphones sound brighter or sharper than intended. Disabling or adjusting these can make an immediate difference.
- Step 1: Right-click the speaker icon in the taskbar and select ‘Sound settings’.
- Step 2: Under ‘Output’, click on the headphones being used.
- Step 3: Scroll down and click ‘Additional device properties’.
- Step 4: Go to the ‘Enhancements’ tab.
- Step 5: Check ‘Disable all enhancements’ and click Apply.
Windows audio enhancements like ‘Loudness Equalization’ and ‘Bass Boost’ can unintentionally brighten the sound signature. Turning them off restores a more neutral, less fatiguing output. For a deeper look at this process, the full guide on adjusting audio output settings on Windows 11 walks through each option in detail.
Fix 3: Reset Audio Settings to Default

If the audio output has been modified over time through various apps or settings, accumulated changes can result in an unintentionally bright sound profile. Resetting everything to default is a clean-slate fix.
- Step 1: Open ‘Settings’ in Windows 11 and go to System, then Sound.
- Step 2: Scroll down and click on the active headphone output device.
- Step 3: Look for a ‘Reset’ option to restore factory audio settings for that device.
- Step 4: If any third-party audio software (like Sonic Studio, Realtek Audio Console, or DTS Sound Unbound) is installed, open those and reset their settings as well.
- Step 5: Restart the computer and test the headphones again.
The step-by-step process for resetting audio settings on Windows 11 covers this in full, including how to handle third-party audio software that may override system defaults.
Fix 4: Change the Ear Pad Material or Fit
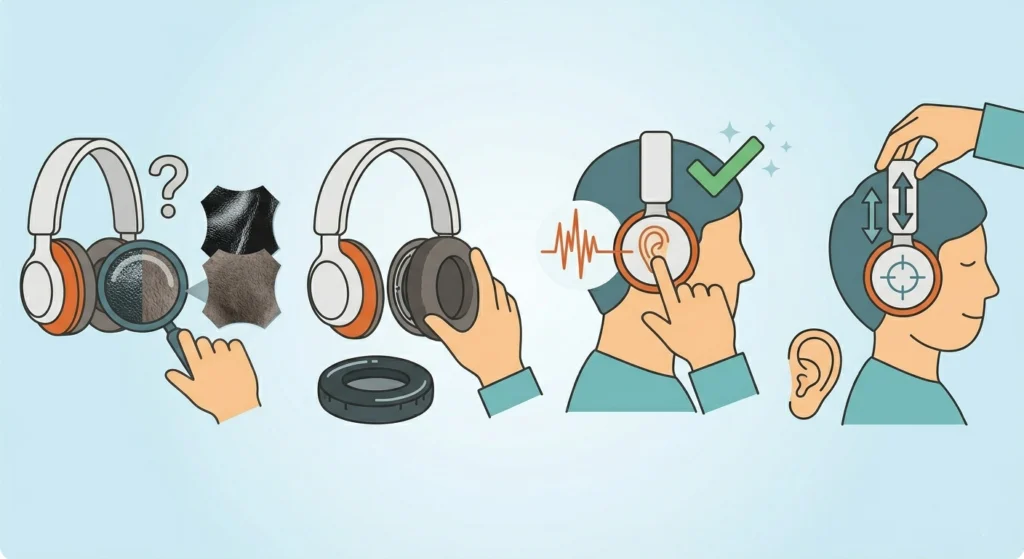
This is a physical fix that many people overlook. The material and fit of ear pads directly affect how sound reaches the ears – and it has a surprisingly large impact on perceived brightness.
- Step 1: Check whether the current ear pads are made of pleather (synthetic leather), velour, or foam. Pleather pads tend to have a brighter, more reflective sound while velour absorbs high frequencies more, resulting in a warmer tone.
- Step 2: If the headphones use replaceable ear pads (most over-ear and on-ear headphones do), consider swapping them for velour or memory foam pads.
- Step 3: Make sure the headphones are creating a proper seal around the ears. A poor fit causes bass loss, which makes the treble appear disproportionately loud and harsh.
- Step 4: Adjust the headband so the cups sit flat and centered over the ears.
Most people find that switching from pleather to velour pads on a bright headphone immediately tames the harshness without touching any software. The key is finding a pad that fits the specific headphone model correctly.
Fix 5: Use a Streaming App’s Built-In EQ
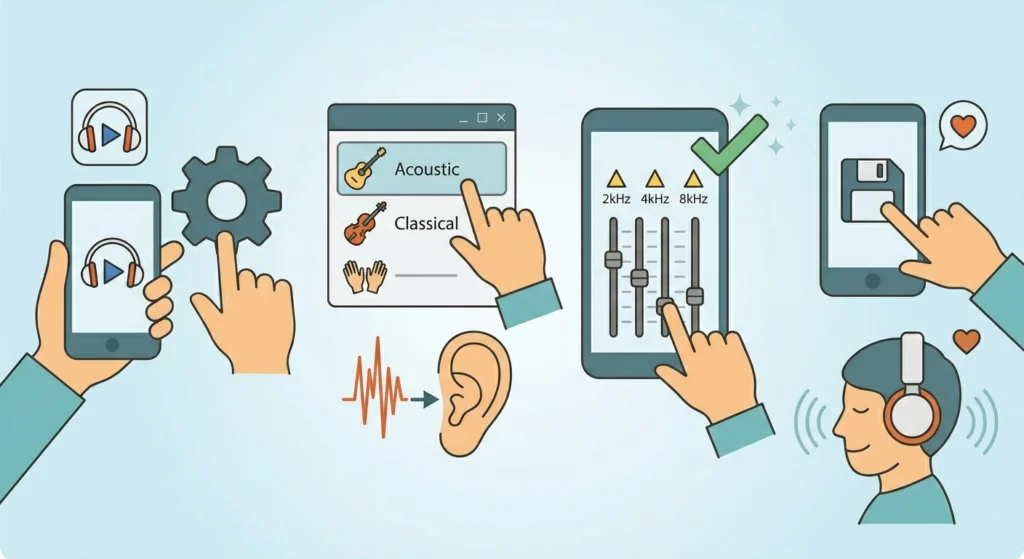
If the music source is a streaming app like Spotify, Apple Music, or Tidal, the app itself likely has an equalizer built in. This is the simplest fix that requires no extra software.
- Step 1: Open the streaming app and go to Settings.
- Step 2: Look for an ‘Audio’ or ‘Equalizer’ section.
- Step 3: Select a preset like ‘Bass Reducer’, ‘Classical’, or ‘Acoustic’ – these tend to reduce upper-mid and treble frequencies naturally.
- Step 4: Alternatively, switch to a manual EQ if available and lower the 2kHz – 8kHz bands as described in Fix 1.
- Step 5: Save the custom preset if the app allows it, so it applies consistently.
Fix 6: Apply EQ at the System Level With Equalizer APO

For Windows users who want a fix that works across all apps – not just one – Equalizer APO is a free, system-wide equalizer that intercepts audio before it reaches the headphones. It is the most powerful software solution available.
- Step 1: Download Equalizer APO from the official site (equalizerapo.com) and install it.
- Step 2: During installation, select the headphone output device to apply EQ to.
- Step 3: Install the Peace GUI (a user-friendly interface for Equalizer APO) for easier control.
- Step 4: In Peace, create a new EQ profile and lower the bands in the 2kHz – 8kHz range by -3dB to -6dB depending on how harsh the headphones are.
- Step 5: Enable the profile and test across multiple audio sources to confirm the change is consistent.
Pro-Tip: The AutoEQ project (available on GitHub) has pre-measured correction EQ curves for hundreds of headphone models. Search for the specific headphone model there and import the correction profile directly into Equalizer APO. This gives a scientifically calibrated result with almost no manual tweaking required.
Tips for Getting the Best Results
- Always test EQ changes with a variety of music genres – a setting that fixes harshness on pop music may sound too dull on classical.
- Burn-in does not reliably reduce harshness on most headphones, despite common advice online. EQ and pad changes produce more consistent, immediate results.
- When using EQ, cutting frequencies is almost always better than boosting others. Reducing the highs is more natural-sounding than boosting the lows to mask them.
- If the headphones are used with a phone and the phone’s audio chip adds sharpness, consider using an external USB DAC (digital-to-analog converter) for a cleaner, smoother signal.
- Headphone cables rarely affect brightness, but if using a third-party cable with silver conductors, those can sometimes add a brighter character compared to standard copper cables.
Common Problems and Solutions
The EQ changes are not applying to all apps
This usually means the EQ is set at the app level rather than the system level. Use Equalizer APO (Fix 6) to apply corrections system-wide so every application benefits from the adjustment.
The headphones still sound bright even after pulling down the 2kHz – 8kHz range
Try extending the reduction further up to 10kHz. Some headphones have a peak in the ‘air’ frequency range (around 10kHz – 12kHz) that adds excessive sheen and brightness. A gentle cut there can help significantly.
The sound became muffled or dull after applying EQ
The reduction was likely too aggressive. Pull the EQ bands back up slightly until the sound feels clear but not harsh. The goal is to remove fatigue, not all detail. A reduction of -2dB to -4dB is usually sufficient for most headphones.
The harshness disappears with music but returns with movies or games
This points to a source-level issue rather than the headphones. Certain audio formats used in movies (like Dolby Digital) or game engines apply their own EQ processing. A system-level fix using Equalizer APO will cover these cases consistently.
The Windows audio settings do not have an Enhancements tab
Some audio drivers do not include enhancement options in the default Windows interface. Check whether a dedicated audio software suite (like Realtek Audio Console or Nahimic) is installed – those tools often control enhancement settings outside of the standard Windows settings panel. For more on managing this, the guide on managing audio input devices on Windows 11 provides additional context on how Windows handles audio device configurations.
Frequently Asked Questions
Why do headphones sound too bright or harsh?
Headphone brightness typically comes from an emphasized upper-midrange or treble frequency response, usually between 2kHz and 10kHz. This is a deliberate tuning choice by some manufacturers who target a ‘detailed’ or ‘analytical’ sound. It can also result from Windows audio enhancements, poor ear pad seal, or the audio source itself adding high-frequency energy.
Is it safe to use EQ on headphones?
Yes, using EQ is completely safe for headphones. Reducing frequencies through EQ actually lowers the energy sent to the drivers, which puts less strain on them – not more. The only risk would be boosting frequencies aggressively at high volumes, which could damage drivers over time, but cutting frequencies carries no such risk.
Will burning in my headphones reduce harshness?
The scientific evidence for headphone burn-in improving sound quality is very weak. Most double-blind listening tests show no measurable improvement in brightness or harshness after extended burn-in periods. EQ adjustments and pad swaps are far more reliable and immediate solutions.
What frequencies cause harshness in headphones?
Harshness and sibilance most commonly come from the 4kHz – 8kHz range. Sibilance (that ‘s’ and ‘sh’ sound distortion) tends to center around 6kHz – 8kHz specifically. General listening fatigue over longer sessions is often tied to 3kHz – 5kHz energy.
Can changing ear pads really fix bright headphones?
Yes, noticeably so. Velour and memory foam pads absorb more high-frequency energy than pleather pads. Swapping pads on well-known bright headphones like the Beyerdynamic DT 990 Pro is a common community recommendation for a reason – the difference in perceived treble is audible and measurable.
Does cable material affect brightness?
For most practical purposes, no. The difference between cables is extremely subtle and debated. However, if a headphone is already borderline bright, some users report that silver-plated cables add a slight extra edge in high frequencies compared to pure copper. Switching cables is a last resort, not a primary fix.
What is the best free EQ software for Windows to fix bright headphones?
Equalizer APO combined with the Peace GUI interface is the best free option for Windows. It works system-wide, is highly configurable, has near-zero latency, and supports pre-made correction profiles from the AutoEQ project. It covers everything from simple tonal adjustments to fully custom headphone correction curves.
Why do some headphones sound brighter at higher volumes?
Human hearing is not linear. At lower volumes, treble and bass both appear quieter relative to midrange (per the equal-loudness contour). As volume increases, treble becomes more prominent relative to how the ears perceive it. If headphones already lean bright, this effect makes harshness more noticeable at louder listening levels. Reducing the 4kHz – 8kHz range by an extra 1dB – 2dB when listening at high volumes helps counter this.
Can headphone harshness be caused by the DAC or amplifier?
Yes. Some lower-quality DACs or amplifiers add measurable distortion in the upper frequencies, which can result in a brittle or harsh character that is not the headphone’s fault. Testing the same headphones with a different audio source (like a phone instead of a PC) helps determine if the source chain is contributing to the brightness.
Does sample rate or audio format affect brightness?
In some cases, yes. Poorly mastered audio files can have excessive high-frequency energy baked into the track itself. Streaming quality settings also matter – very low bitrate streams use lossy compression that sometimes introduces artifacts in the high-frequency range, making headphones sound harsher than they should. Switching to a higher quality stream or a lossless file format eliminates that variable.